RecordCast Review: What You Didn’t Know Until Now…
Here’s our authentic, unbiased review of the RecordCast online screen recording platform.
As a Social media marketing trainer, I’ve realized that the need for an effective software to record training videos is key for me.
PAY ATTENTION: Read the most interesting Smartphone app Reviews only here on Richeetech.
My typical process
While recording the digital version of our sister company’s Social media marketing for Beginners Training material, I encountered a problem: How do I record my face, the slides and my voice all at once.
I opted to record my voice over a Voice recorder app and used some nameless desktop screen recorder chrome extension to capture the laptop screen.
Then I proceeded to merge these two by using a mobile video editor app.
Very crude and burdensome, you’ll agree. I didn’t even find a way to record my face!
RecordCast review: How I solved my big fat problem
I want you to know that prior to getting an email almost 2 weeks again introducing me to RecordCast, I had absolutely no idea how else I was going to record my Computer screen save for that troublesome method i told you guys about earlier.
So I checked out their website, fiddled with a few features and I absolutely loved it!
What is RecordCast?
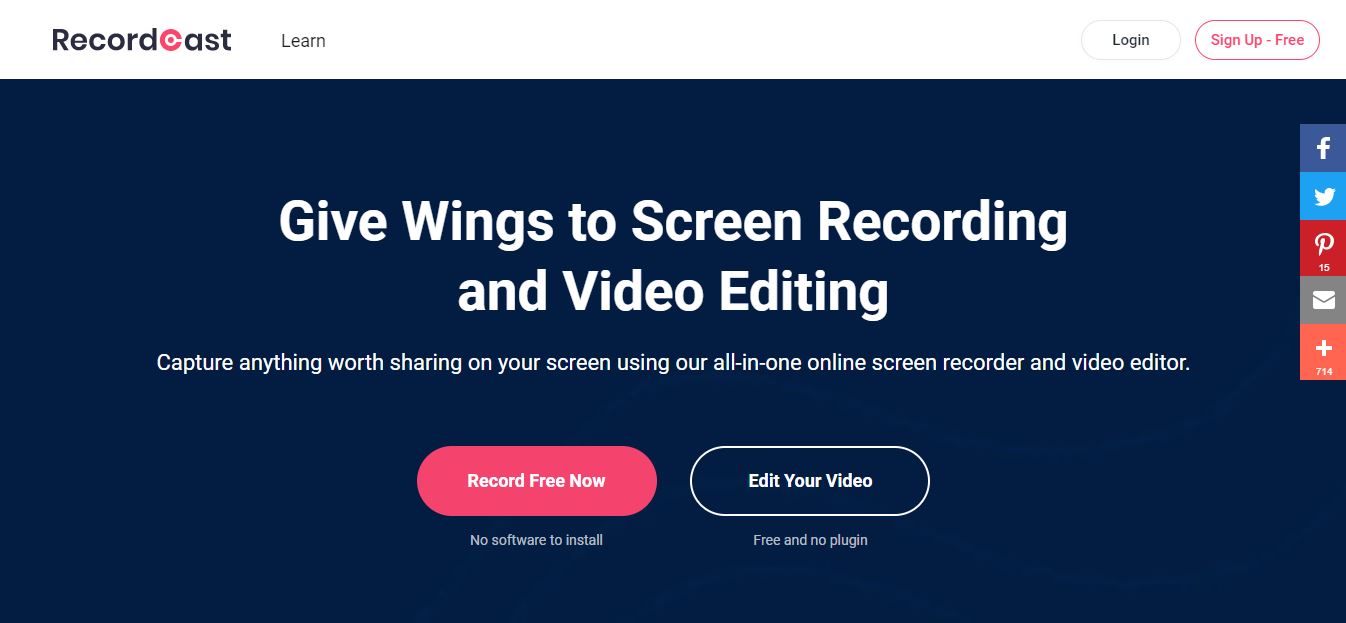
RecordCast is a web platform that allows anyone record their device screens and edit the video afterwards. It allows you record not just your screen, but also your face and voice as well. Unlike many other out there, you don’t need to download some plugin, software or exe file. Everything is we
IMPORTANT: Buy real, active Nigerian Instagram followers with money back guarantee. Click here now.
In this review of RecordCast, here is the step by step process I now use to go about creating my marketing videos as well as the specific features that stood out for helping me achieve what I needed to accomplish:
How to use RecordCast to record your Laptop, PC or Smartphone screen for free
Recording Phase
Step 1: Visit the RecordCast website and click “Record Free Now” and choose your recording mode. Depending on what you want to achieve, your answer to this multiple choice question will differ. I personally always choose screen and webcam.

Step 2: Under “Recording settings”, choose your preferred audio recording options. I find that using just Microphone gets you the best sound output. So if you have a dedicated Mic (like a studio Mic) or even a Headset Mic, you’re golden!

Step 3: Click “Start Recording”. You’ll notice that it says “5 minutes limit”. This limitation is prevalent only on the free plan. However, if you need to record something longer, you should definitely upgrade to their Plus Plan.

Video editing phase
Once you’re done recording, it’s time to edit your clip and there are a lot of customization options to choose from:
Media: In the Media menu, you can find useful features like Filter, Adjust, Speed, Crop, Copy, Delete, Split and more. Classic video editing tools.
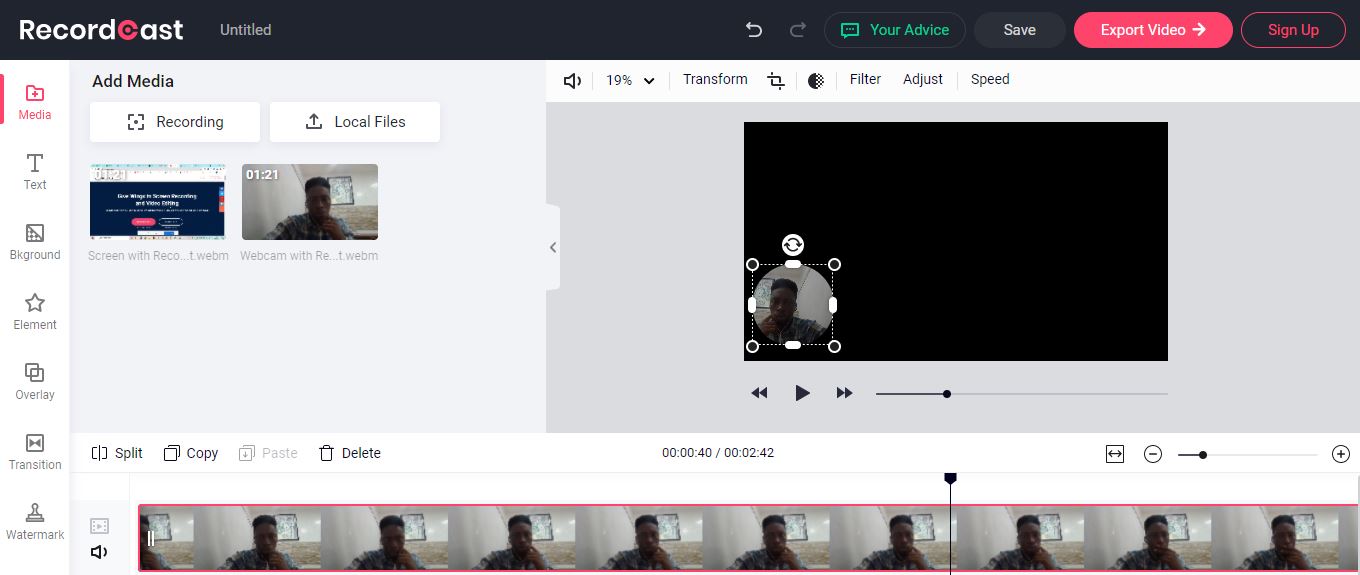
Text: Under Texts, you get to manipulate typography in any way you want. It’s here you find the standard text editor tray for formats like Bold, Italics etc.

Elements: With Elements you can add icons, shapes, social media logos and more to your video.

Overlay: This is one feature I love very much. I like to use it as a title cover for my videos. It’s the perfect place to place your logo and video title and have it overlay your video in smooth animation.

Watermark: Here, you get to discourage online content thieves from stealing your hard work by placing a watermark in a prominent location in your video.

More: If you’re looking for something extra that still packs a punch, you can check out the “More” submenu. One of the amazing things it can do is let you change the aspect ratio of your video to fit certain devices better.

Step 4: When you’re done with all that, you should go ahead to export your video using the button located at the top right hand corner.
You can only export at 480p resolution on the free plan. But if you’re a resolution junkie like me, you’ll go ahead and get that Plus plan once and for all.

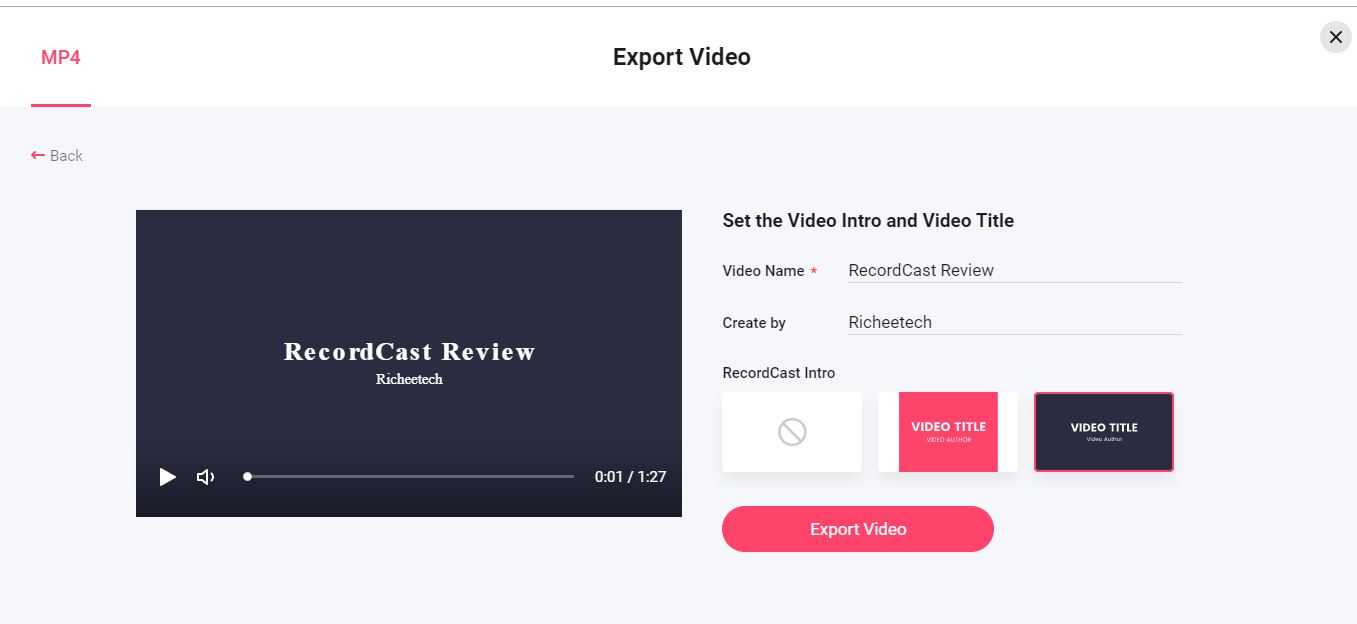
Step 5: Once you choose a resolution, you’ll be asked to customize your video title and Intro details. Click “Export” and your video will be downloaded to your device.
RecordCast review conclusion
Have you ever used RecordCast to record your screen? What was your experience? Let’s convene in the comments section and gossip!
You may also like
- How To Convert Image To Text Online With OCR Easily?
- This Is Hands Down The Best Solution For File Sharing
- 20 Apps Like Vshare For Android, IOS & PC | Vshare Alternatives 2021
- Modern Warfare 2: Everything You Need To Know
- Abeg App: You Won’t Believe How Much They Paid To Sponsor BBNaija!
IMPORTANT: Buy real, active Nigerian Instagram followers with money back guarantee. Click here now.






Well defined article post. This review is very helpful for users.